Signing in
This chapter covers how you get into the console and what you can change about your own account once you are in. It walks through the sign-in steps, single sign-on, choosing a tenant, what happens when a session expires, and the user menu.
It is for everyone who uses the console. Your administrator gives you an account; you cannot create one from the sign-in page.
The sign-in steps
The sign-in page asks for your email address first, and only then for anything else.
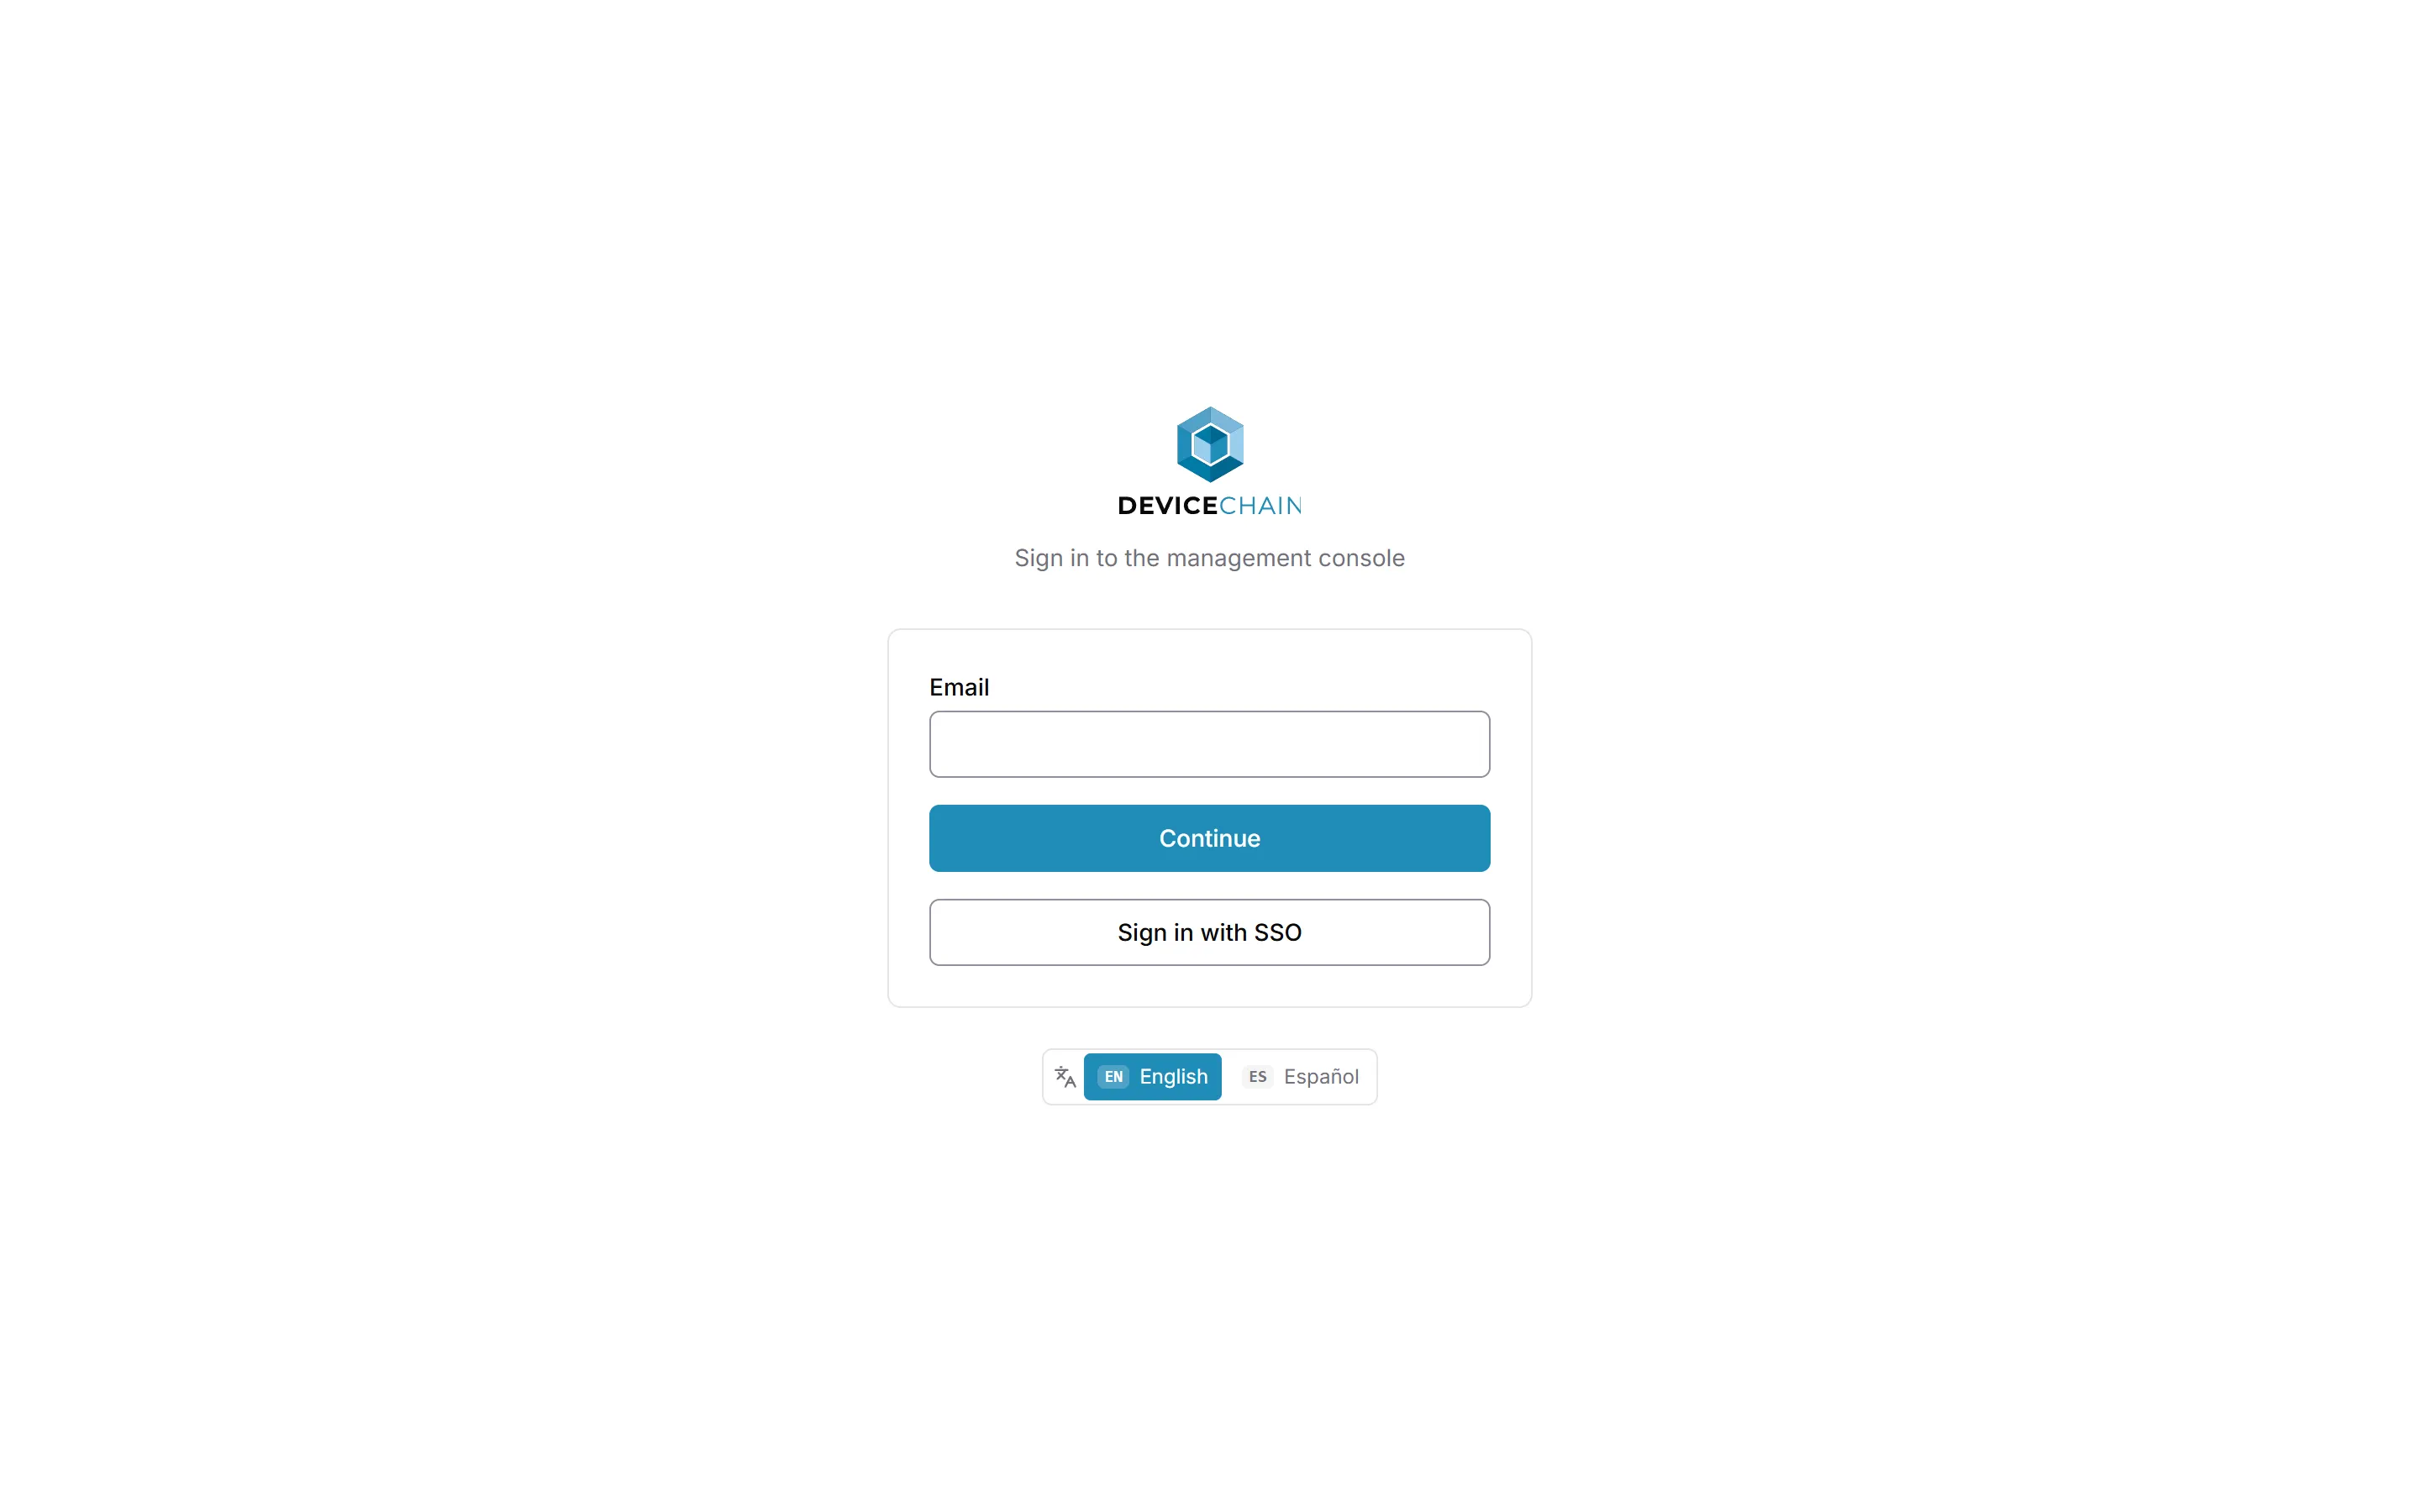
- Enter your email address and choose Continue.
- The console checks whether your organization has set up single sign-on for your email
domain:
- If it has not, you are asked for your password.
- If it has, the page says "This address signs in through your organization's single sign-on." Choose Continue with single sign-on to go to your identity provider. If your account has only a password, choose Use a password instead.
- Enter your password and choose Sign in.
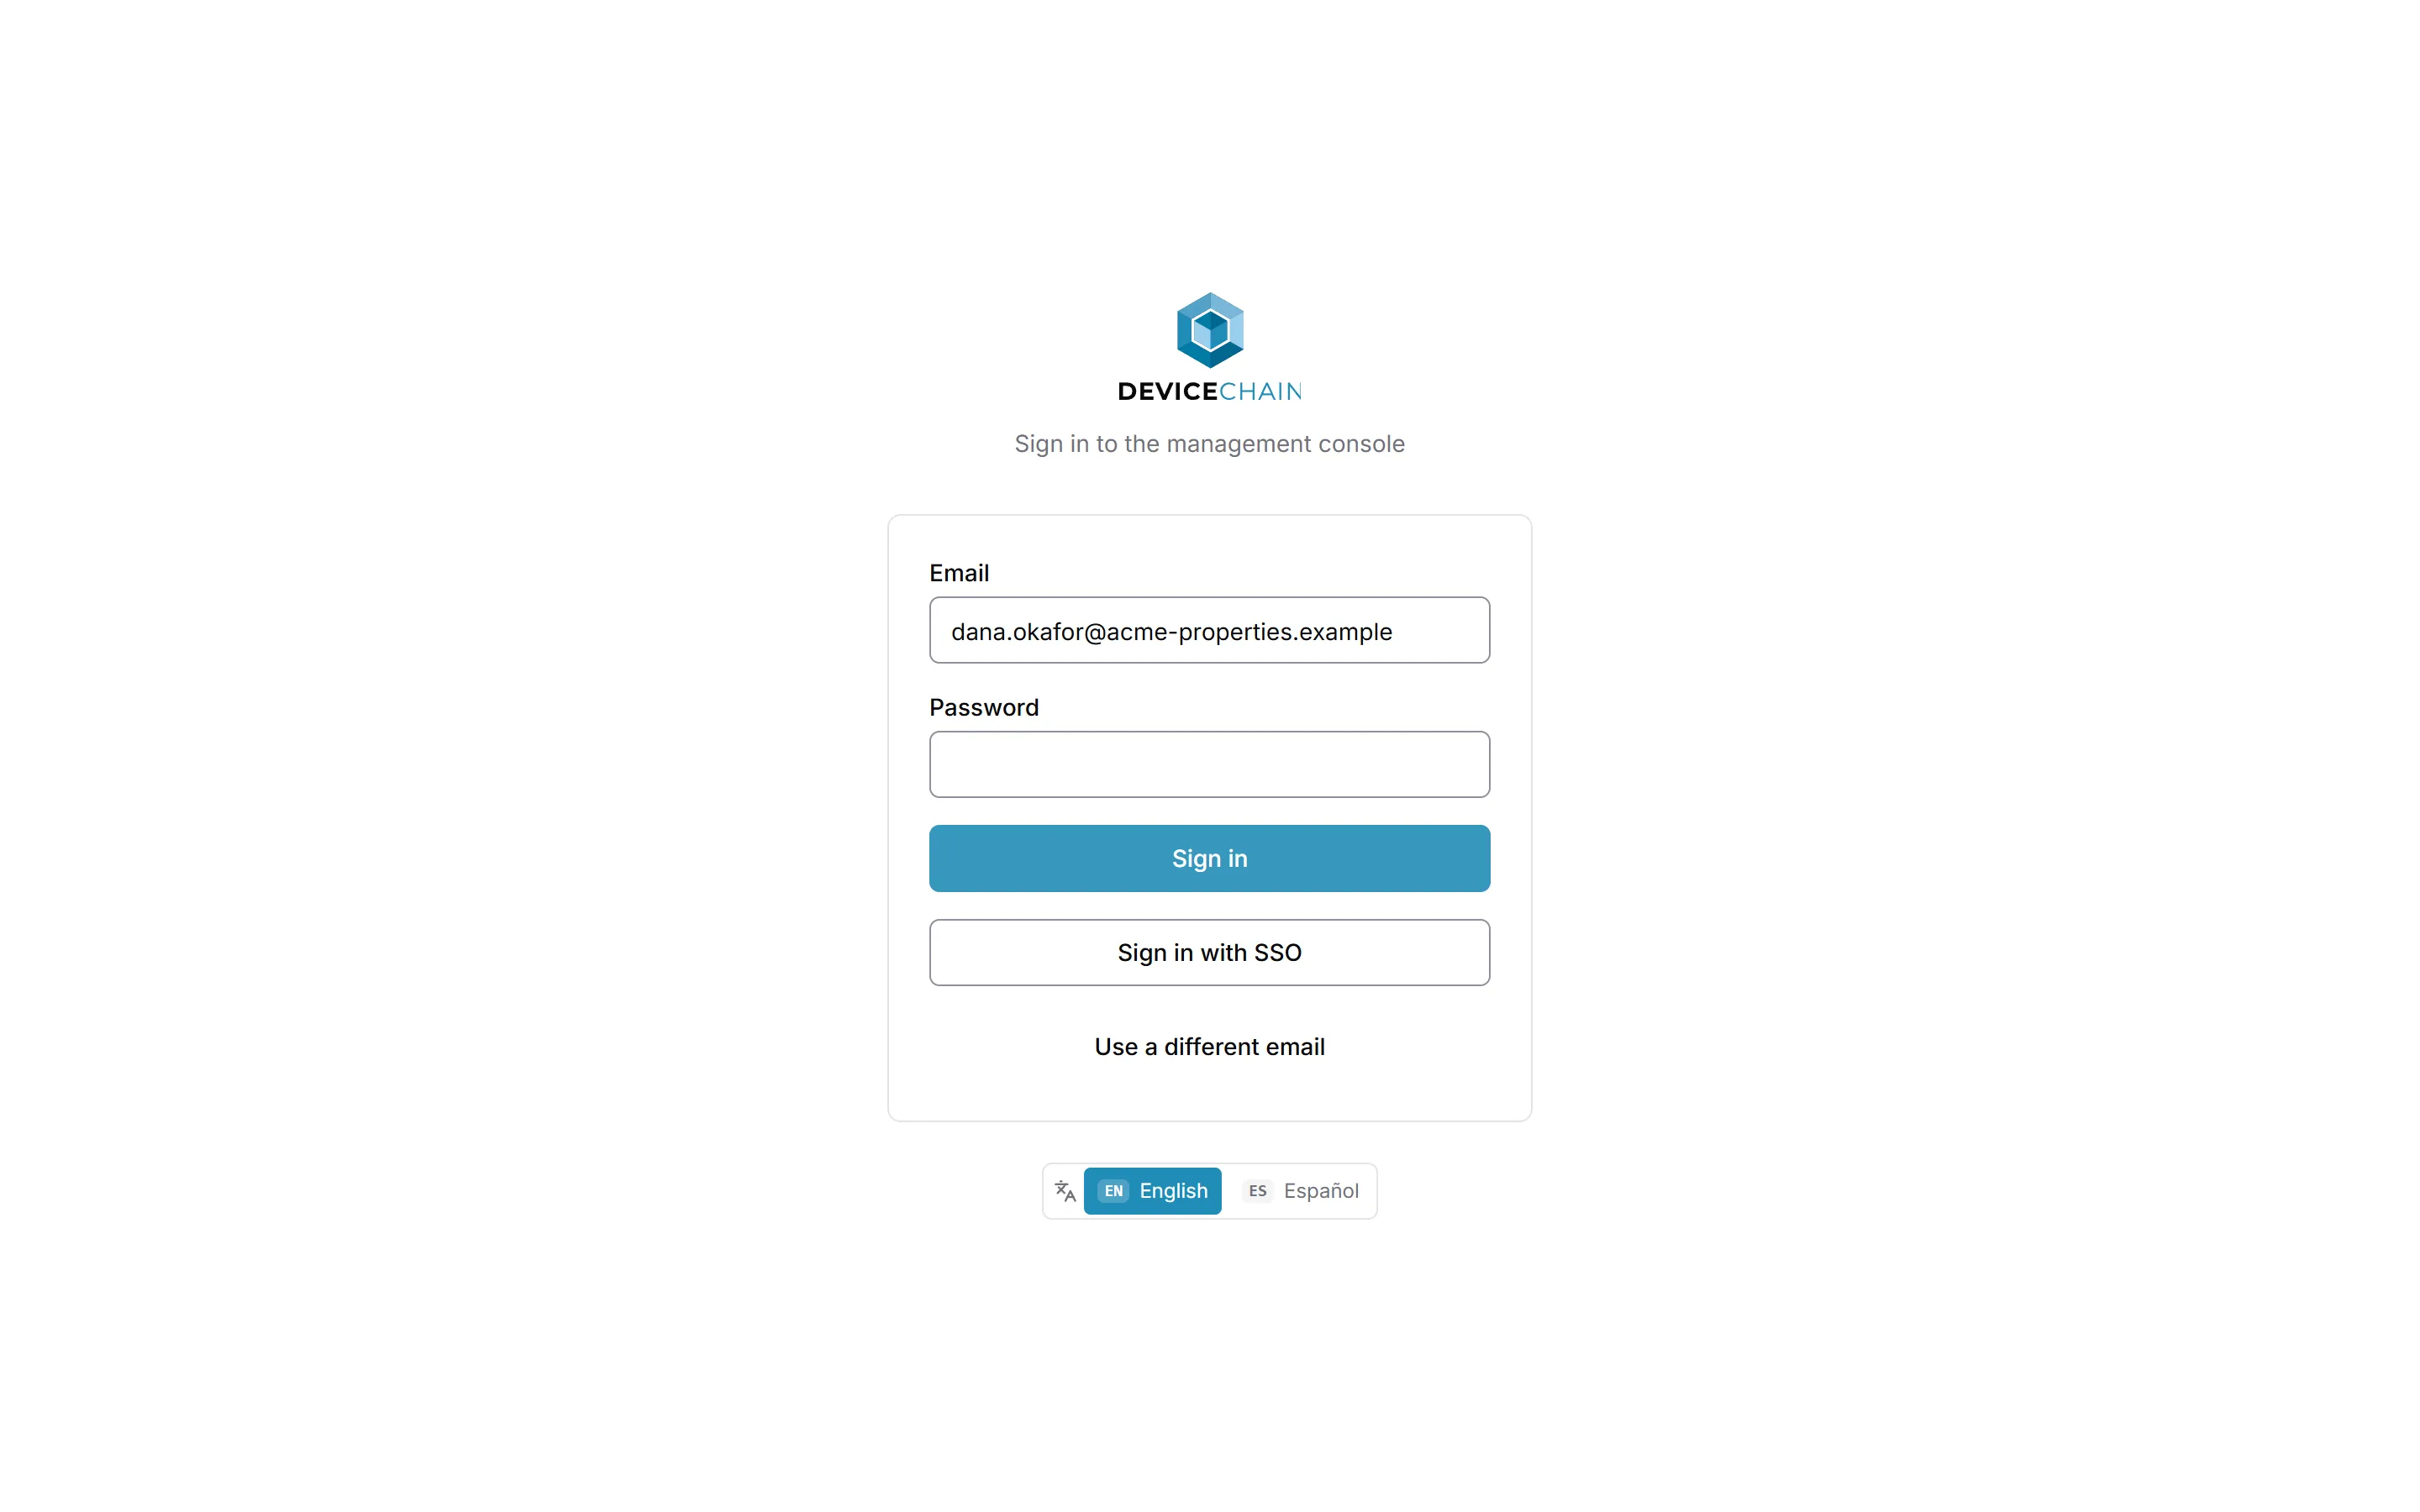
Once you are past the first step, your email address stays on the screen but cannot be edited. To start again with another address, choose Use a different email.
The check in step 2 is about your email domain, never about you. It gives the same answer whether or not an account exists for the address, so it cannot be used to find out who has an account.
If the email or password is wrong, the console says "Invalid email or password." It does not say which of the two was wrong. After too many failed attempts it asks you to wait a moment before trying again.
Choosing a language
The language switcher under the sign-in card sets the console's language: English or Español. Your choice is remembered in this browser and applies straight away. You can change it again later from the user menu.
Single sign-on
If your organization signs in through an identity provider, you can choose Sign in with SSO on either step. Enter your email address first: the console needs it to find your organization's provider. You are sent to the provider, and come back to the console signed in.
If single sign-on is not set up for your address, the console says so and shows the password field instead.
How single sign-on works, and how an administrator sets it up, is covered in Single sign-on and Configuring single sign-on.
Choosing a tenant
A tenant is the workspace that holds your organization's devices, rules and dashboards. Your account can belong to more than one.
- If you belong to one tenant, you go straight into it.
- If you belong to several, the console shows "Choose a tenant to continue" with one button per tenant. Choose the one you want to work in. Back returns you to the sign-in form.
- A tenant that requires single sign-on is still listed, marked "Requires single sign-on", but you cannot enter it after a password sign-in. Sign in with SSO instead.
- If your account belongs to no tenant yet, the console says so. Ask an administrator to add you to one.
Instance operators (superusers) do not choose a tenant at sign-in. They land in the admin console, which is covered in Administering the instance.
When your session expires
A session does not last for ever. If you are away long enough for it to lapse, the console sends you back to the sign-in page and tells you why.
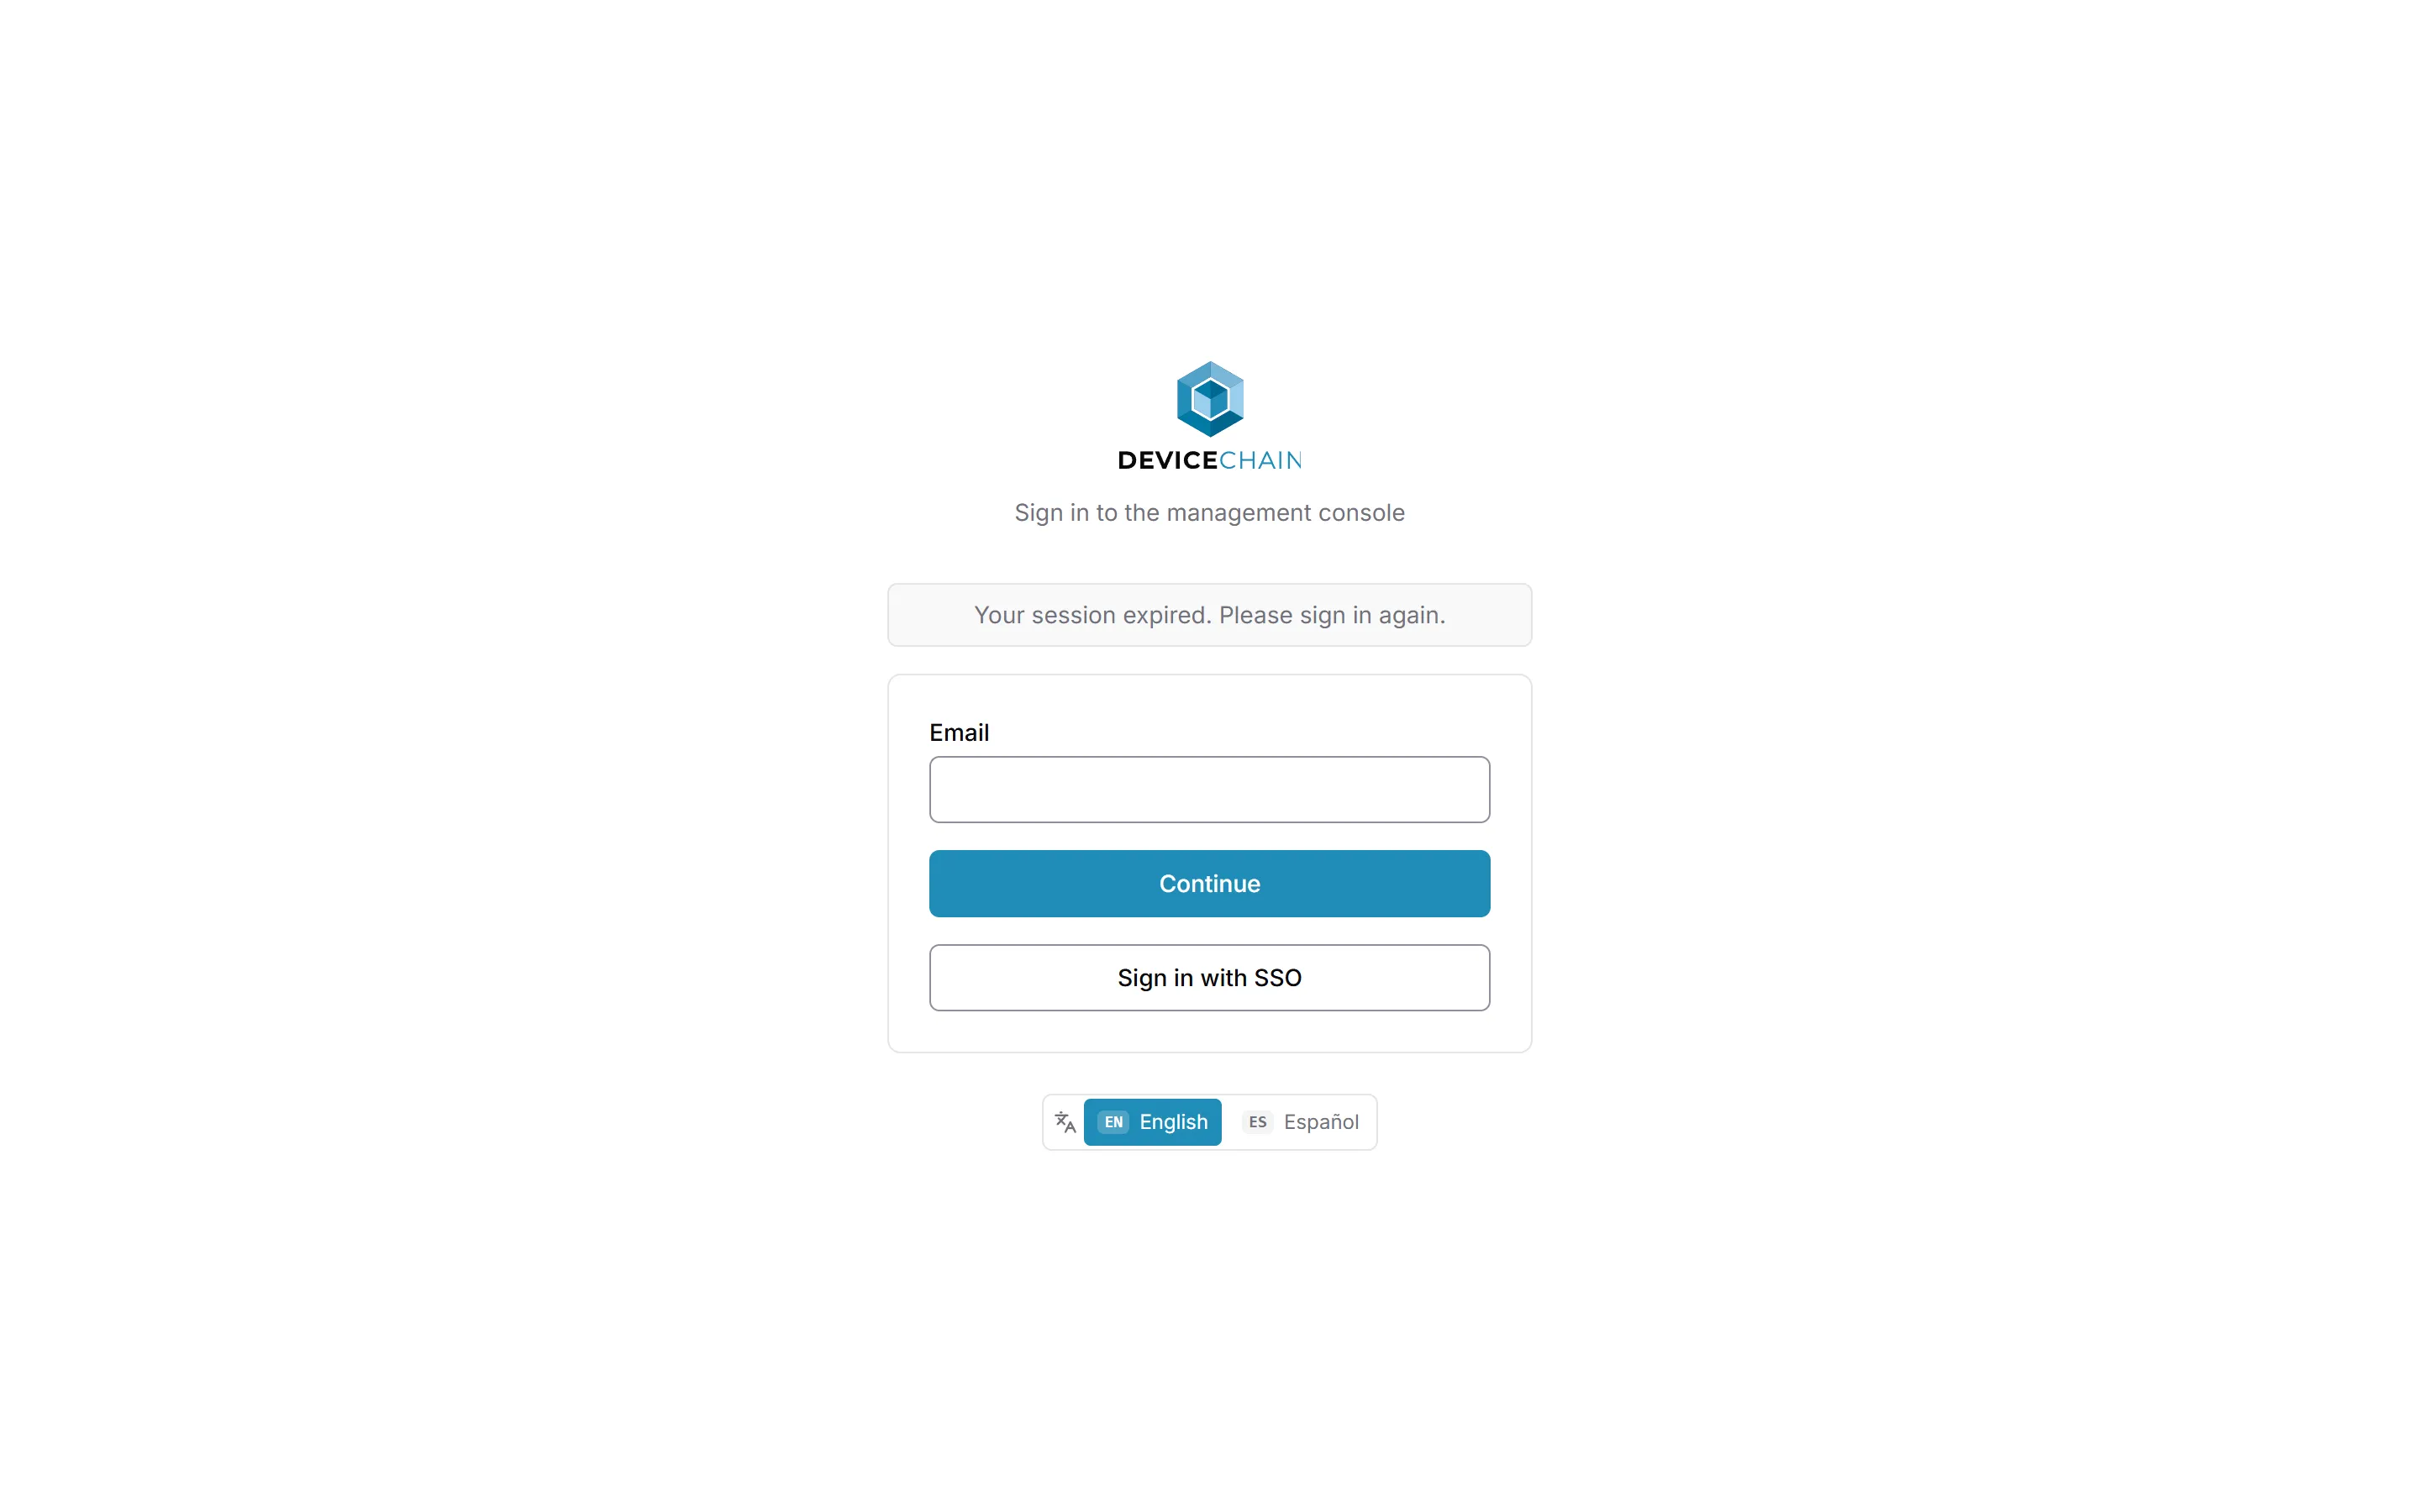
Sign in again to carry on. If your tenant started requiring single sign-on while you were signed in with a password, the notice says so instead, and asks you to use Sign in with SSO.
The user menu
Your name and email address sit at the bottom of the sidebar. Select them to open the user menu.
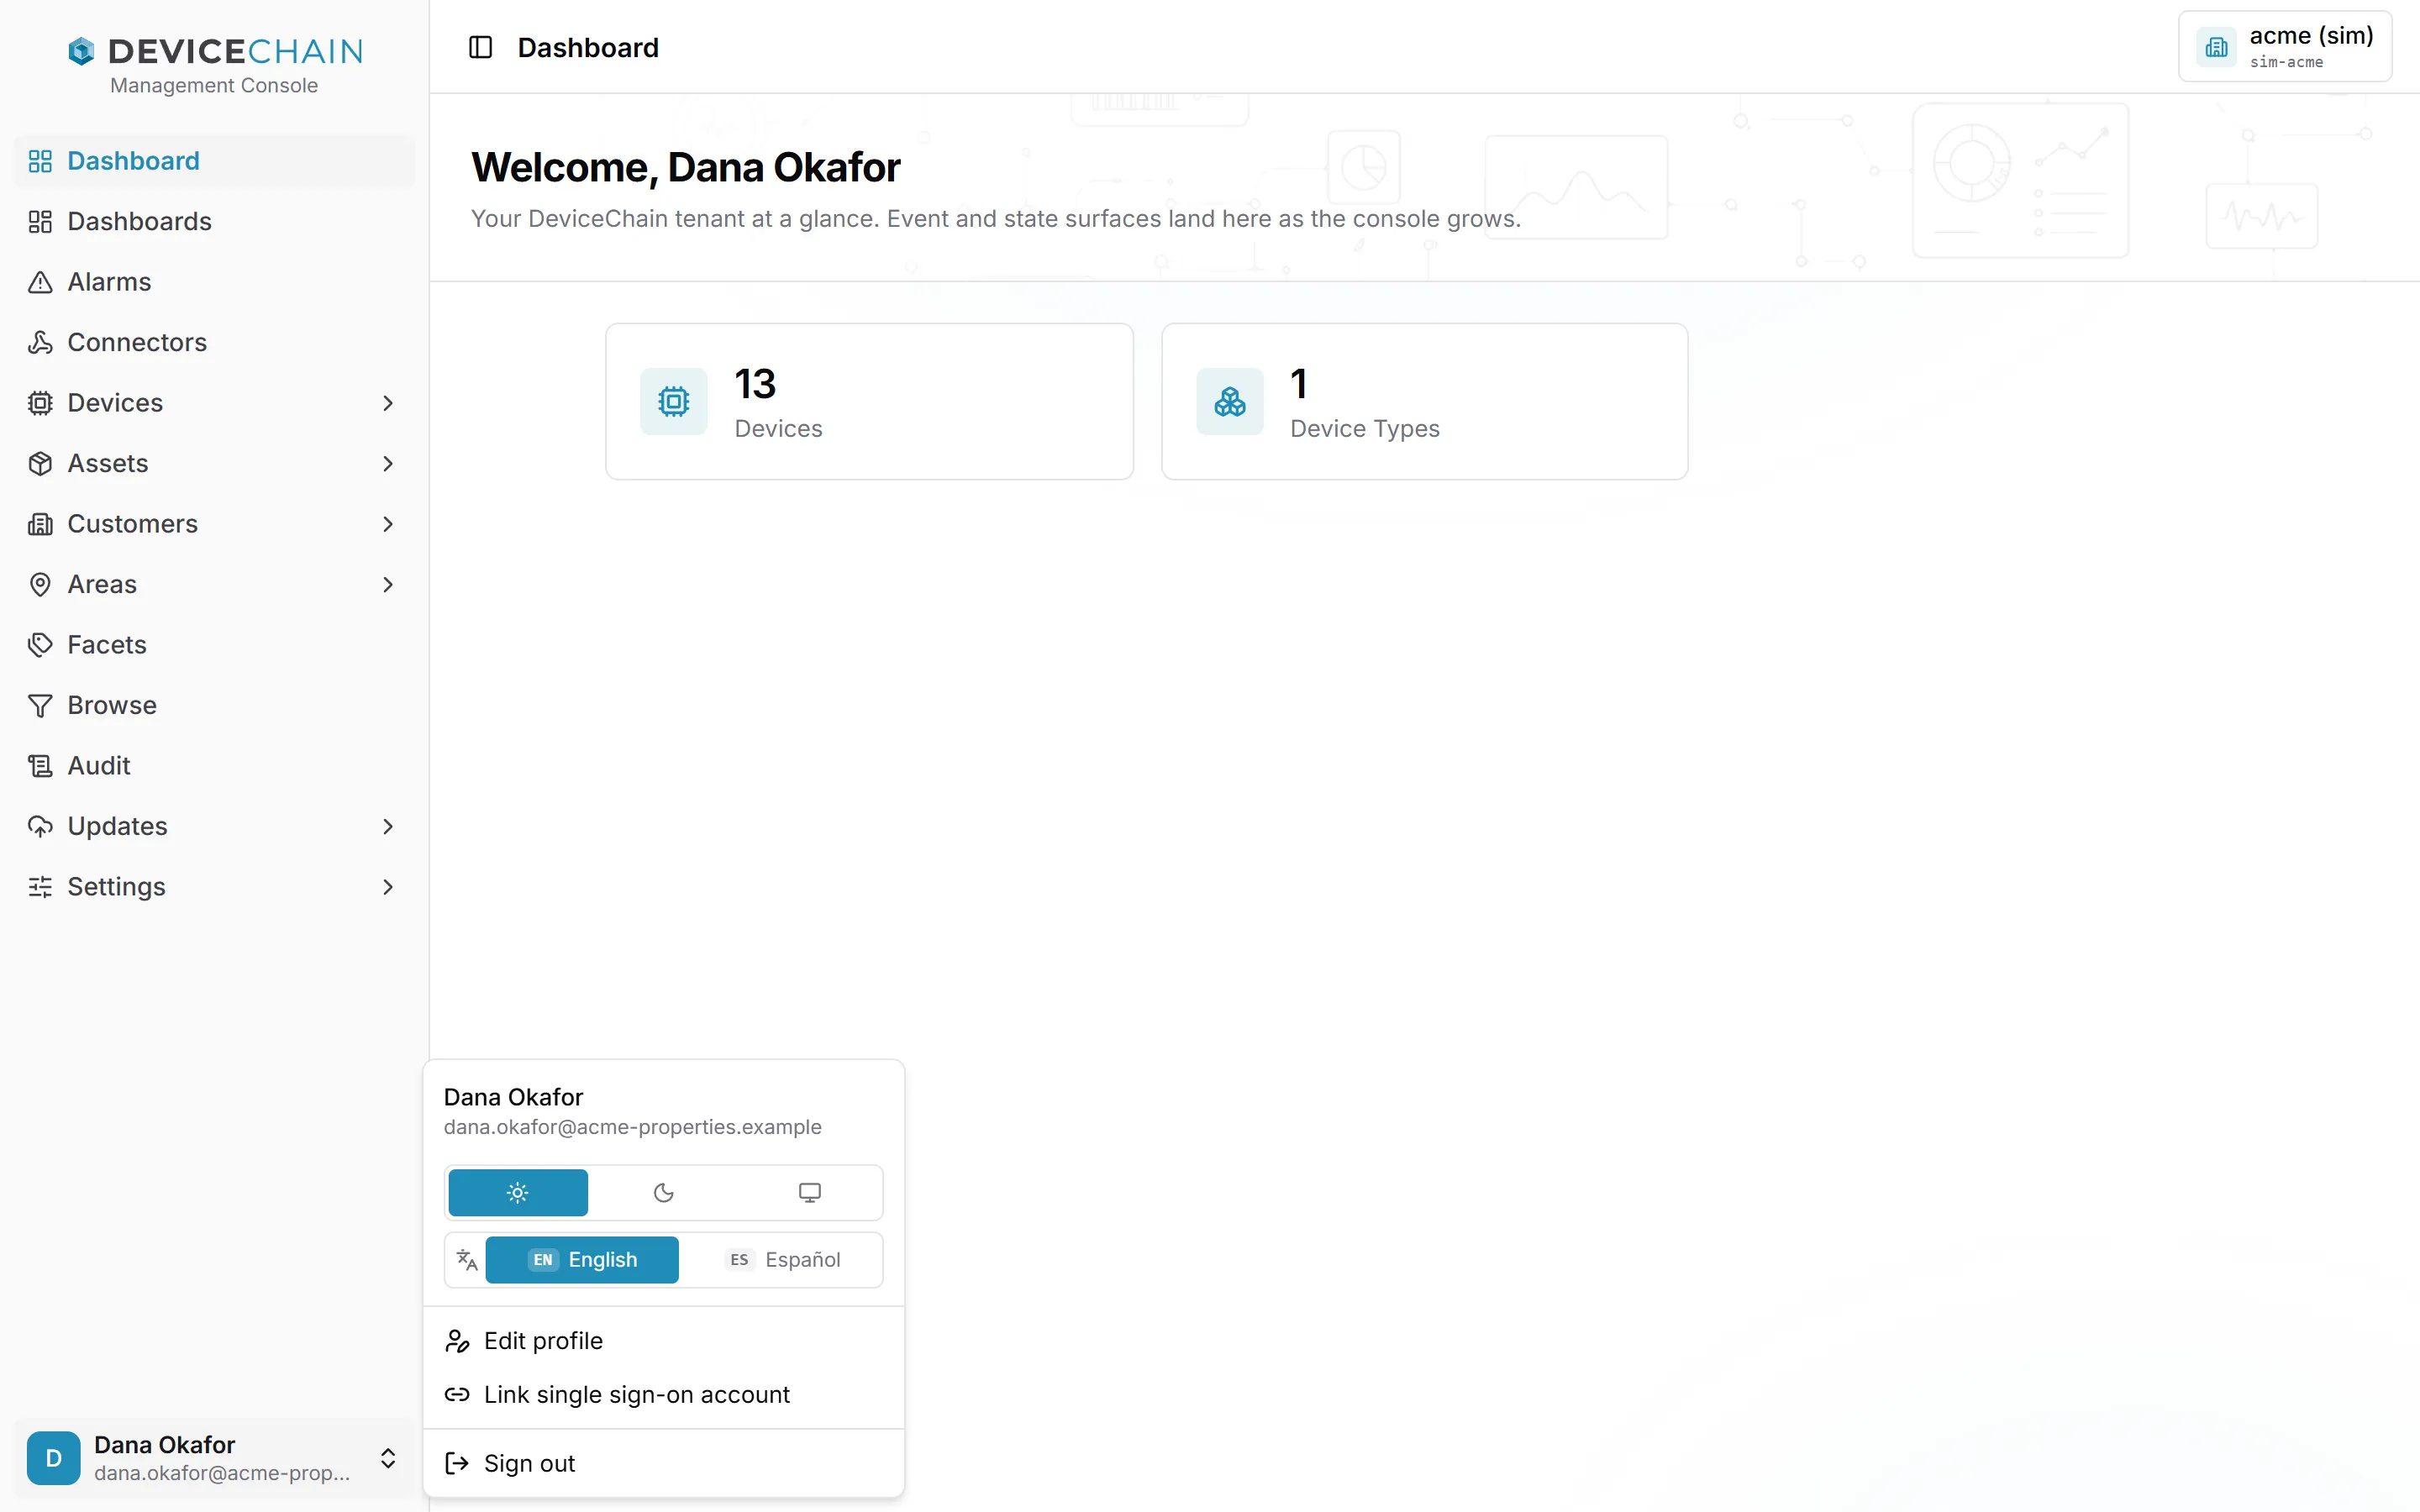
From the user menu you can:
- Change the theme. The three icons are Light, Dark and System. System follows your computer's setting.
- Change the language, as on the sign-in page.
- Edit your profile (see below).
- Link your account to single sign-on. Link single sign-on account connects your existing account to your organization's identity provider, so you can sign in through it from then on. It needs a recent password sign-in, so it is not offered when you signed in through single sign-on. See linking.
- Sign out.
Instance operators also see Admin console, and, where the instance offers it, Metrics.
Editing your profile
Edit profile opens a panel where you can change the name the console shows for you.
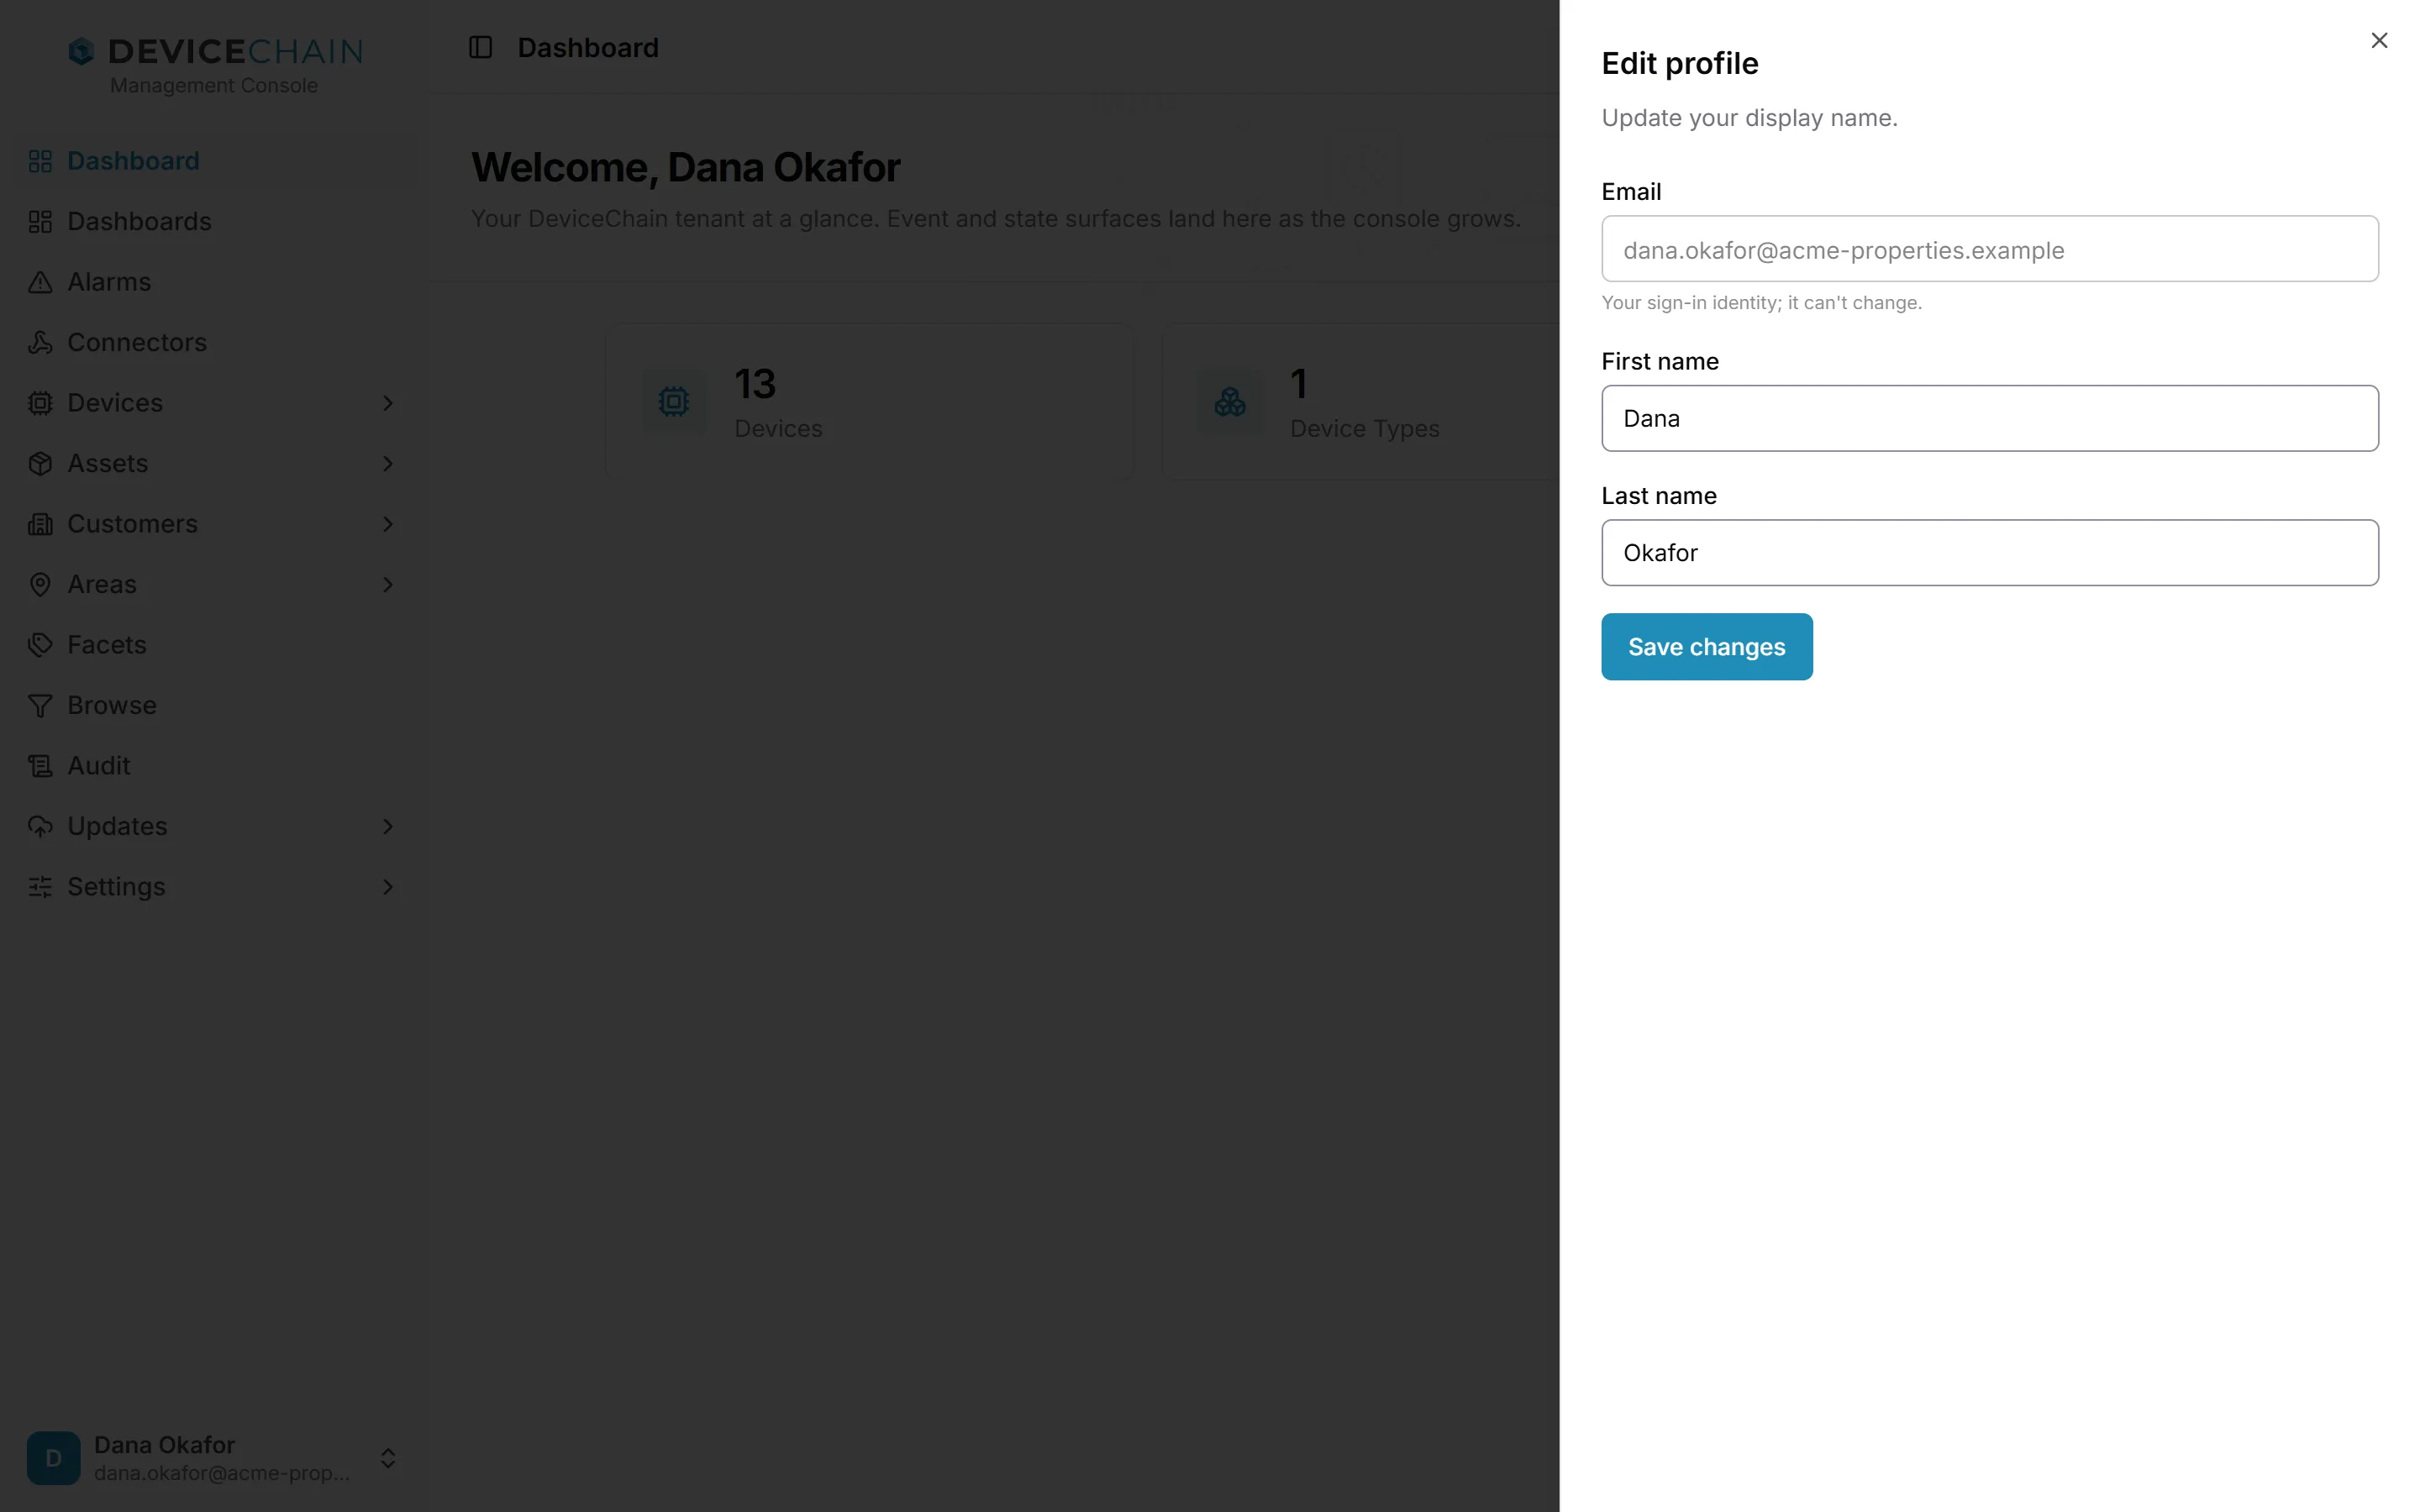
Change your First name and Last name, then choose Save changes. Your email address is the identity you sign in with, so it is shown but cannot be changed here.